 5.0 Out Of 250+ Reviews


 Financing Available


 (214) 227-2763

Last Updated: October 29, 2026
Quick Summary
After receiving a roof inspection report, read the summary page first, then check severity ratings and the recommended timeline before looking at photos. In the first 48 hours, photograph any active leak, note your deductible, call your insurance agent about storm damage coverage, and get one or two repair estimates before authorizing anything. Prioritize repairs by severity rather than price, fixing urgent items like active leaks and missing shingles within days.
- Most reports rank issues as minor, moderate, or severe, so highlight every severe or urgent item.
- Don’t sign a repair contract on day one; pressure to sign fast is a warning sign.
- Sort repairs into urgent (days), important (weeks), and deferred (next season) buckets.
- Compare the adjuster’s report to your inspector’s report line by line and submit a supplemental claim for missed items.
- Avoid signing an assignment of benefits or direct-pay authorization without reading it first.
Table of Contents
- Start With the Report Summary, Not the Photos
- How to Read a Roof Inspection Report Line by Line
- Your Roof Inspection Report Checklist for the First 48 Hours
- Prioritize Repairs by Severity, Not by Price
- Roof Insurance Inspection Report Next Steps
- Questions to Ask a Roofing Contractor After Inspection
- What the Report Means for Your Warranty and Legal Position
- Get a Second Opinion Before You Sign Anything
- Frequently Asked Questions
Start With the Report Summary, Not the Photos
Your roof inspection report is a written record of your roof’s condition, created by a certified inspector after a physical walk-through. It tells you what is damaged, what is worn, and what needs fixing first.
Most homeowners flip straight to the photos. Don’t. The summary page tells you the story in plain terms.
The summary may state the overall condition, flag safety hazards, and distinguish storm damage from deferred maintenance. Whether damage is covered depends on the policy.
Here’s the order that works:
- Read the summary page first. It gives you the big picture.
- Check the severity ratings. Most reports rank issues as minor, moderate, or severe.
- Note the recommended timeline. Some fixes are urgent, others can wait.
- Save the photos for last. Use them to confirm what the text describes.
A report may list issues with different levels of urgency.
The Insurance Information Institute’s guide to homeowners insurance explains how storm damage claims typically work, which helps you read the summary with the right lens.
How to Read a Roof Inspection Report Line by Line
Reading a roof inspection report means matching each line item to a physical part of your roof and a severity rating. The report uses technical terms, but each one points to a specific problem you can picture.
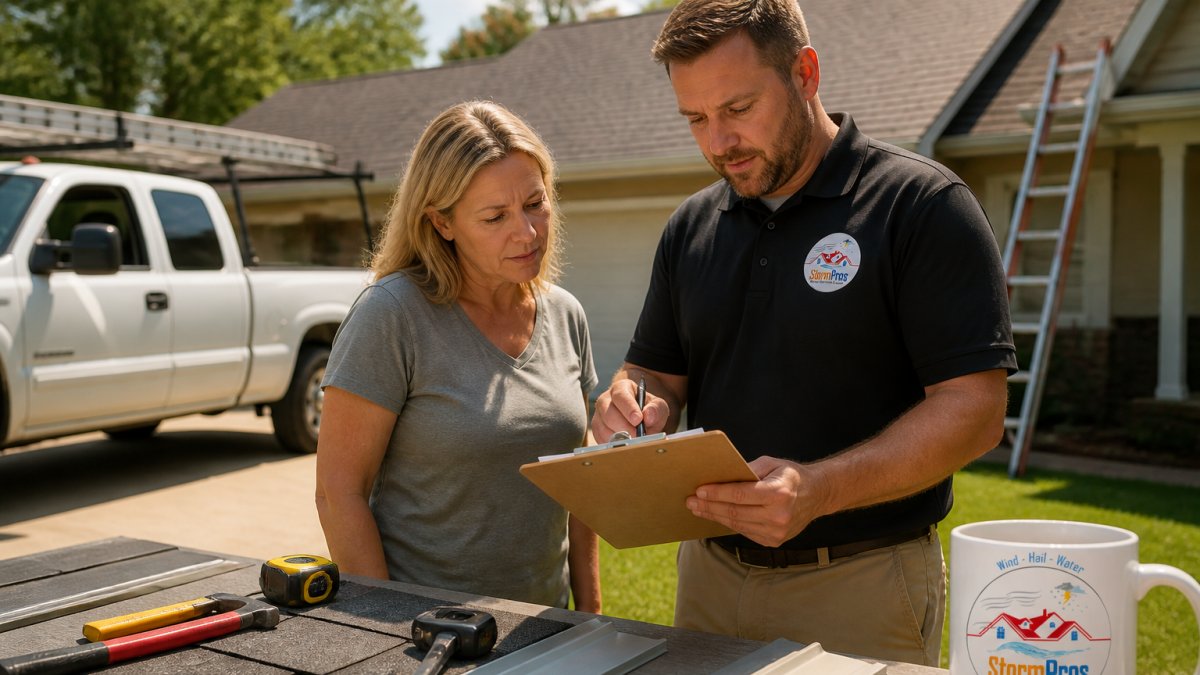
Go through the report section by section. For each item, ask three questions: What part is this? How bad is it? Does it threaten the inside of my house?
Decoding the Terminology: Flashing, Underlayment, and Curling Shingles
Flashing is the metal strip that seals joints where your roof meets walls, chimneys, or vents. Damaged flashing can allow water intrusion.
Underlayment is the water-resistant layer beneath your shingles. It is beneath the shingles.
Curling shingles are shingles whose edges lift or bend upward. Curling shingles have edges that lift or bend upward.
Other terms you’ll see:
- Granule loss: the sandy coating wearing off shingles.
- Ventilation: airflow through the attic that controls heat and moisture.
- Leak detection: the process of tracing where water actually enters.
A roofing contractor can translate any term you don’t recognize. Ask, and write the answer on the report.
Your Roof Inspection Report Checklist for the First 48 Hours
Move fast on paperwork, not on signing.
Use this checklist:
- Read the full summary and highlight every “severe” or “urgent” item
- Photograph any active leak or interior water stain
- Find your homeowner’s policy and note your deductible
- Call your insurance agent to ask whether storm damage is covered
- Store the report in a folder you can share with contractors
- Get one or two repair estimates before authorizing anything
- Ask the inspector to clarify any line item you don’t understand
Watch out: don’t sign a repair contract on day one. Pressure to sign fast is a warning sign, not a courtesy.
Prioritize Repairs by Severity, Not by Price
A cheap fix on a severe problem may still leave your home exposed.
Sort the report into three buckets:
| Priority | What It Looks Like | Timeline |
|---|---|---|
| Urgent | Active leaks, missing shingles, structural integrity risks | Fix within days |
| Important | Worn flashing, damaged underlayment, poor ventilation | Fix within weeks |
| Deferred | Cosmetic wear, minor granule loss, curb appeal items | Plan for next season |
Start with the highest-priority items in the report.
A cost-benefit analysis can help you compare repair options.
DIY vs. Professional Repair: Where the Line Sits
Some tasks are safe for a handy homeowner. Most roof work is not.
Roof work can involve safety risks. Consider your skills and the work involved before deciding whether to do it yourself or hire a professional.
Consider safety, applicable building codes, and warranty terms when deciding whether to do roof work yourself.
If your report flags storm damage, be careful who you hire. Learn how to spot roofing scams and verify licenses before you sign with anyone.
Roof Insurance Inspection Report Next Steps
An insurance-related inspection may involve reviewing the adjuster’s report alongside your policy and other documentation. If an estimate seems low or a claim is denied, review the insurer’s explanation and consider asking questions.
Here’s how to move forward:
- Compare the adjuster’s report to your inspector’s report. Note every item the adjuster missed, and put the two documents side by side line by line.
- Gather your evidence. Photos, dates of the storm, the inspector’s findings, and any contractor estimates that support a higher scope.
- Submit a supplemental claim if items were left out. The Texas Department of Insurance consumer help page explains your rights and the complaint process.
- Keep every email and letter. A paper trail protects you.
Negotiating With the Adjuster When the Estimate Comes In Low
If an estimate seems low, you can review it and ask the insurer questions.
You can review the adjuster’s line-item breakdown alongside the inspection findings and ask the insurer about any differences.
If you have questions about the estimate, contact your insurer to ask about your options. If the estimate falls short, learn what to include in a supplemental insurance claim to recover the difference.
Keep your communications clear and organized.
What to Do If Your Claim Is Denied
If a claim is denied, review the insurer’s explanation and your policy to understand the stated reason.
Review the insurer’s stated reason for the denial alongside your policy and inspection report. If you have questions, ask the insurer to explain its decision.
If you disagree with a denial, review your policy and ask your insurer about any available review or dispute options.
Do not sign a contractor’s “assignment of benefits” or direct-pay authorization without reading it. These forms transfer your claim rights to the contractor and are a common source of disputes.
Public Adjusters: When to Bring in Help
A public adjuster may be an option to discuss if you need help understanding a claim. Review the terms of any agreement before signing.
Questions to Ask a Roofing Contractor After Inspection
Consider asking contractors questions before signing an agreement.
- Are you licensed and fully insured in this state?
- How long have you worked in this area?
- Will you put the scope of work in writing?
- Do you handle insurance claims directly?
- What warranty covers your workmanship?
- Who will actually do the labor, your crew or a subcontractor?
- Can you provide references from similar jobs?
Consider the answers you receive when evaluating a contractor.
For a deeper framework on vetting and comparing companies, see this guide to choosing the best roofing companies.
What the Report Means for Your Warranty and Legal Position
Your report is evidence. It can protect you or hurt you depending on how you use it. Most articles mention warranties in passing; the specifics below are where money is actually won or lost.
How an Inspection Report Affects Manufacturer Warranties
Warranty terms vary. Review the applicable warranty documents to understand what they cover.
Review the applicable warranty documents for maintenance requirements, transfer terms, and conditions that could affect coverage.
What the Report Means for a Future Home Sale
Disclosure requirements vary by jurisdiction. Check the applicable rules or consult a qualified professional about your situation.
Two rules keep you safe:
- Keep the original report and every update, including receipts for work performed.
- Get warranty terms in writing before work starts, and confirm in writing whether the warranty transfers.
Treat the inspection report as a permanent record. The repairs you authorize, the receipts you keep, and the disclosures you make all trace back to what that report told you, and when.
Before you authorize repairs, understand how roof installation warranty coverage works so you don’t accidentally void protection you already have.
Get a Second Opinion Before You Sign Anything
A second opinion may help you consider a report before committing to a large repair.
When should you get one?
- The estimate feels high or low compared to the scope.
- The contractor pressures you to sign today.
- The report’s findings don’t match what you see.
- You’re unsure whether damage is storm-related or wear and tear.
A second inspection may provide another assessment of the reported findings. See the average cost of a professional roof inspection to know what it includes before committing.
At StormPros, we’re a family-owned general contractor with over 20 years of combined experience, fully insured and locally owned. We act as insurance claim specialists. We also provide roofing, siding, and gutter services.
Get started with StormPros to discuss your repair needs.
Frequently Asked Questions
What should I do first after receiving a roof inspection report?
Read the summary section and note any items marked urgent. Keep a copy of the full report for your records. If you have questions about the findings, ask the inspector to clarify them.
How do I know if my roof inspection report is accurate?
Review the report for clear descriptions of findings and any supporting photos. If you have questions or the findings are unclear, ask the inspector to explain them or consider seeking another opinion before committing to a large repair.
Should I file an insurance claim based on the inspection report?
Review your policy and contact your insurer to ask whether the reported damage may be covered. Keep relevant photos and records, and consider your deductible when evaluating your options.
What questions should I ask a roofing contractor after the inspection?
Ask what work is proposed and whether the contractor will provide a written scope. You can also ask about insurance, warranty terms, and how the proposed work addresses the findings in your report.


