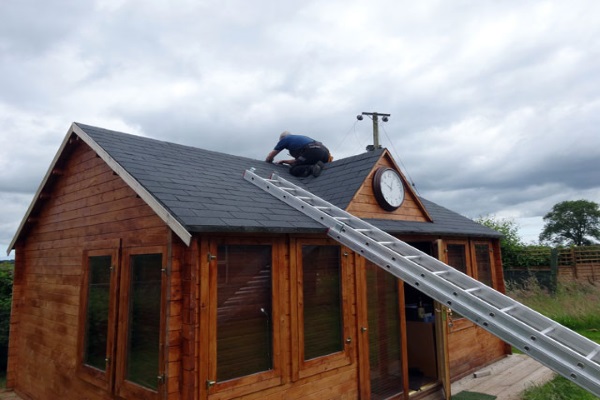
It’s not easy to shingle a conventional residential roof, but you can learn how to install shingles on a shed and pull it off effectively.
Homes in Allen, TX have sheds for external storage space, hobby workshops, and more. Additionally, it adds better curb appeal and value for any real estate.
Unfortunately, sheds are prone to weather damage. To make matters worse, professional work for shed shingle repairs and replacement might be quite expensive.
In this guide, you’ll learn how to:
- Effectively learn how to install, repair, and replace shingles on an Allen TX Shed
- Find out if it’s better to not use professional services for your shed needs
Safety First!
Any person can learn how to install shingles on a shed. However, the major difference between professionals and starting DIY homeowners is ensuring workplace safety.
Another is that professionals will offer material and labor insurance for any work.
To make sure every part of your body has protection during every part of the installation, do the following:
- Wear goggles and work gloves at all times
- When on the roof, walk slowly and always take special caution
- Wear the appropriate roof construction shoes
- Pay attention to where you step, and keep your balance. You will prevent a great number of accidents with these practices

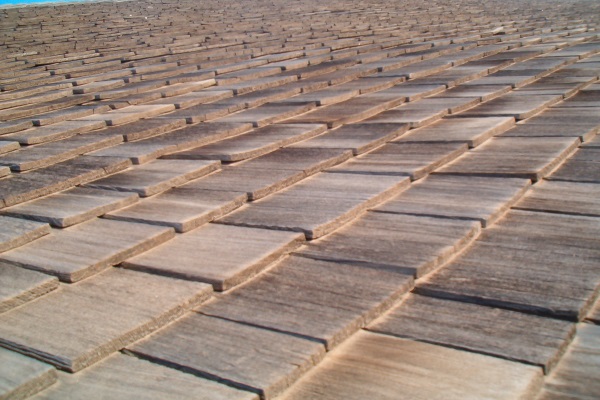
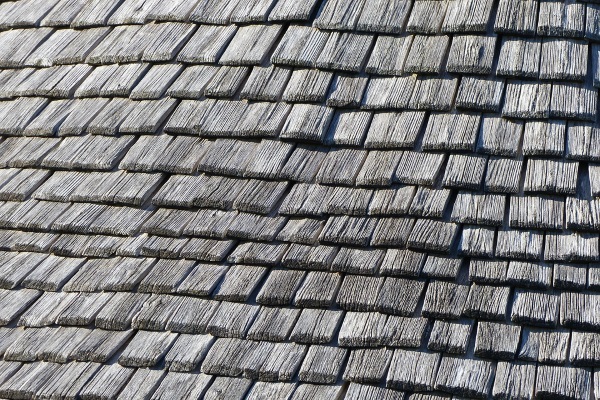
You can choose to use asphalt shingles or wood shakes and shingles for your shed.
Tools You’ll Need
In any kind of DIY work, you’re going to need plenty of tools. When installing shingles, you’re going to need air compressors for your nail guns. You’ll need a chalk line to draw the shingle patterns as you install them. You’ll need the same equipment needed for installing a residential roof.
Without the proper equipment, you’ll never learn how to install shingles on a shed properly. Here is a list of everything you’ll need for this project.
- Air Compressor
- Air Hose
- Caulk Gun
- Chalk Line
- Circular Saw
- Extension Ladder
- Roof Harness
- Stapler
- Straightedge
- Tin Snips
- Utility Knife
Remove Old Shed Materials
Now that you have everything in check, it’s time to remove old shingles from your roof.
The first step is to remove old shingles or any other roofing material on your shed. You still need to learn how to install shingles on a shed even for simple repairs because you’ll remove and reinstall the bruised or heavily-damaged materials.
It’s important to bear in mind if you really need to replace the entire shed roof or just remove a part for repairs.
Use a straightedge or fork to remove the damaged shingles from your roof. Alternatively, remove all the shingles if you plan to replace the entire roof. Use a small container or plastic bag for the discarded shingles for proper disposal later on.

There are a variety of patterns to install shingles. However, all of them just need hammers or nailguns and one-inch nails.
Apply Roofing Paper or Membrane
After you finish removing all the shingles, you’ll see the bare roof in full display.
As per how to install shingles on a shed, remove any debris and clean the joists and surfaces. Doing so allows the roofing paper or membrane to stick effectively with roof adhesive. You can trim and overlap the areas where necessary.
If the old roofing paper, felt, or other membrane is still in good shape, you can still use it. However, we advise you discard it and replace it with newer material to avoid issues in the future.
Installing Shingles
As per residential application, how to install shingles on a shed with different patterns is easy. You can use the following
- Half-Tab: To get that “Brick” appearance found in most homes
- Ribbon Coursing: If you have two types of shingle shapes, you can do two rows of three-tab shingles and use the different shape as a third in different patterns
- Cross-Rows: You have shingle patterns going left to right and up and down for additional layered protection. Beware, without proper weight support, this pattern can collapse the shed!
- No Discernable Pattern: If you’re using architectural shingles for your shed, then installing them according to the manufacturer’s specifications gives you this “patternless” style roof

Make sure to keep safety first when placing shingles on your shed.
Installation Proper
Here is the manual process on how to install shingles on a shed:
- Take your container of one-inch roofing nails
- Lay down the first shingle row
- Nail down each one with one-inch roofing nails on top of each corner and a little on the edges
- Use the utility knife to cut off the excess shingle at the end of the roof
- Overlap where necessary or depending on your desired pattern
- Use the nail gun to make this process faster (although hammer and nails isn’t a bad process if you have time to spare or like the feel of old-school procedures)
- Use roof adhesive on the last row of tiles after you nail them
- Then install the ridge cap shingles (you can shape existing shingles in your bundle to serve as ridge caps)
How To Install Shingles DIY: Is It a Better Choice for Allen TX Sheds?
If you know how to install shingles on a shed on your own, congratulations! You can save so much money from materials and labor.
However, if you value your time more than the equipment and weekends you’ll invest installing your shed roof, then you’ll want to use professional contractors.
The national price average of having a contractor build a shed from scratch is $2,968. You will find Allen, TX contractors who can do this for you for just $1,721 at the lowest.
For shingle installation alone, it may cost about $600-$800, which is still a hefty price. It takes a full day for contractors to install a shingle roof. If your shed is wide, then it may take a few days to a week, which means it is more expensive.
When you do it DIY, you invest your time and resources but not as much as you’ll spend for shed construction labor.
Wrapping Up
It is easy to learn how to install shingles on a shed. However, it means you will have to invest time and resources for both materials and equipment.
If you’re a starting DIY shed roofer, we highly advise you work with a friend or hire professional contractors. Despite taking all measures to ensure your safety, you might face danger or perform a process in a dangerous manner.

Recent Comments